How to set up and use Codegen
Integrating Avo with your app or website can begin as soon as you create an Avo account, and requires three steps:
- Configure Connections in your Avo workspace
- Install the Avo CLI
- Initialize Avo and send your first event
Editors and admins can pull generated code on all plans: free, team and enterprise. Additionally, viewers can pull generated code on the team and enterprise plans. Learn more here.
1. Configure your Avo workspace
In your Avo workspace head to the Sources tab in the left sidebar. Here we’ll create a Source for our app and a Destination for every SDK we want to pass data into.
💡 What are Sources?
In Avo you define from which apps, websites and servers your data is sent (Sources) and to which SDKs and APIs the data is passed into (Destinations). In Avo the relation between Sources and Destinations are called Connections.
Configure a source
If a source doesn’t already exist for your app or website, click “Add Source” to create a new Source. Give it a name and define what development platform and programming language you’ll be using. This configuration is used to tailor Codegen to your stack.

A source configuration for MyApp.com, which is a Web app written in TypeScript
Configure destinations
- Configure destinations in your Avo workspace
- Provide the destination interface for each destination in initAvo
Implement the destination interface
Initialize the destination (e.g. SDK) on your own and pass it to the Avo SDK, by implementing the destination interface and providing it to the Avo generated code.
Step 1: Implement a bridge interface between your existing analytics SDK instance and Codegen.
- This enables you to use the same analytics SDK instance across all tracking calls (using the same session IDs and any other details that your analytics instance keeps track of), so that your users will be identified in the same way across both the tracking implemented with Codegen and your existing analytics implementation.
- This is a one-time setup per codebase.
- See example of a callback interface in JavaScript.
Step 2: Initialize Avo and pass in the bridge interface.
Configure in your Avo workspace
Head back to the Sources tab and click “Add Destination”. To configure a destination:
- Give the destination a name, e.g. My Analytics SDK
- Check the Analytics Tool drop down list. If you decided to go with Option 1, choose Custom, otherwise choose the name of your analytics tool. If you don’t see the tool you need use Option 1.
- Enable your source for the destination (there might be a case when your programming language and platform does not support given analytics platform, in this case you would need to go with Option 1)
Note that the Production API Key and Development API Key are not required for custom destinations.
If you use multiple analytics tools, you should repeat this process and create a destination for every analytics tool.
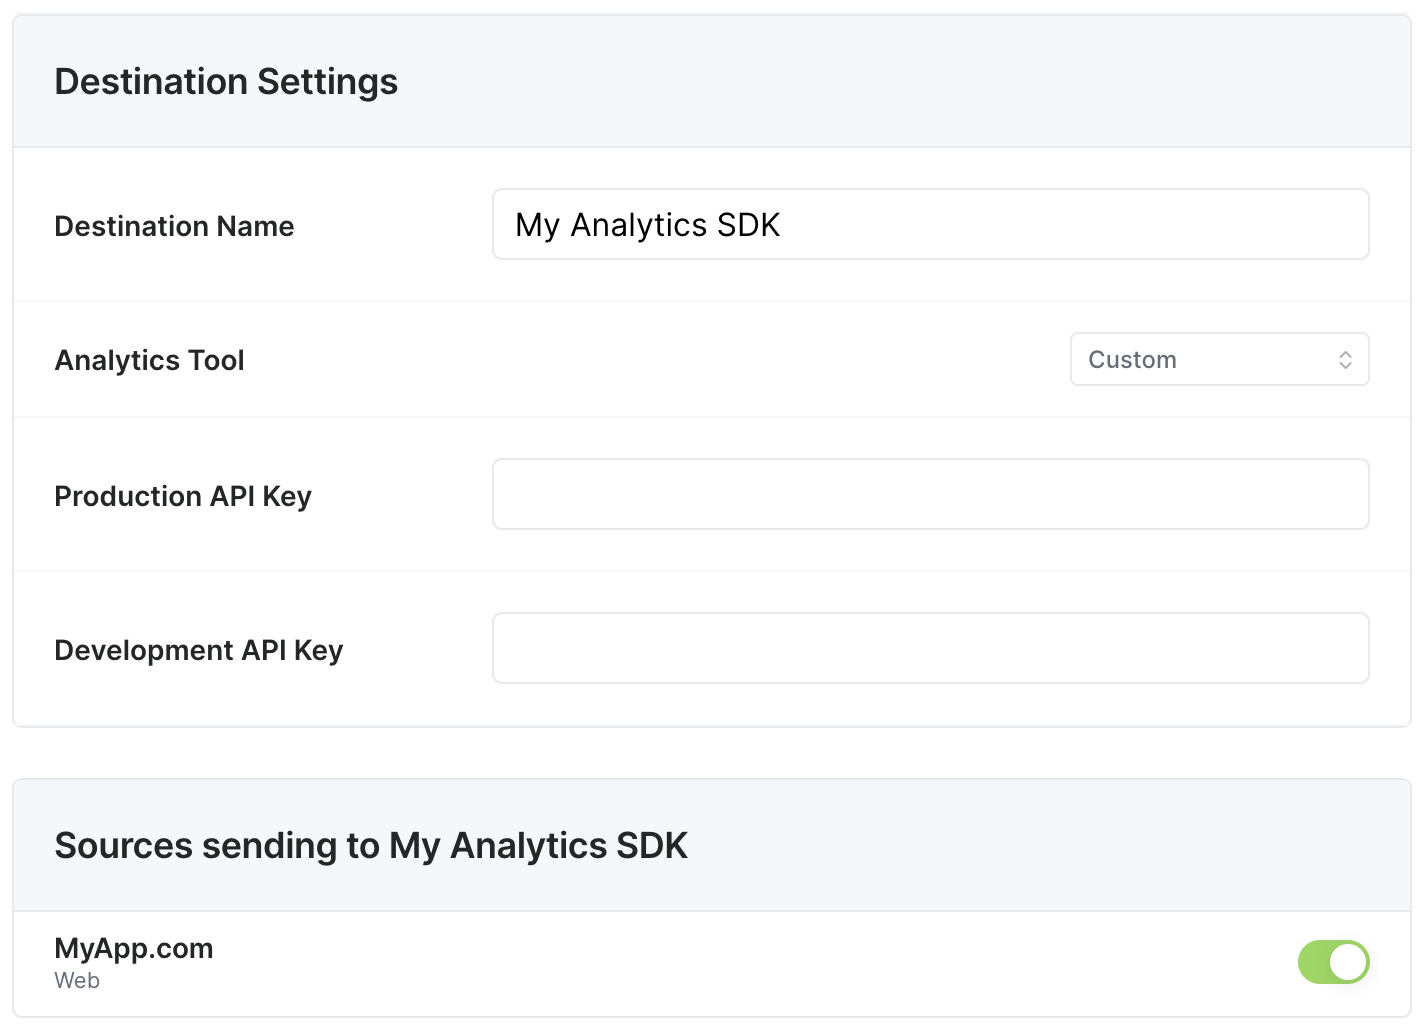
A Destination for My Analytics SDK, which is a destination used on MyApp.com
All set!
Here we’ve configured a Source, sending to a Custom Destination called My Analytics SDK:

Our Source and Destination
Configure events
Head to the Tracking Plan tab. If no events exist in your tracking plan yet you can either import your existing tracking plan or define events in the Tracking Plan. Make sure to attach the source you’ll be implementing to all events you want to implement. Learn more about attaching sources to events here.
2. Install Avo to your project
💡 How does Avo integrate with my project?
Avo code-generates a file based on the Tracking Plan in your Avo workspace. The file contains a function per each Event in the Tracking Plan that you use to send your events. We call these functions Codegen. Each Avo Function validates the event data before passing it forward to your Destinations.You can think about Codegen like a utility file for your analytics. It should be placed somewhere in the source code directory of your Source and checked into git. Every time the tracking plan in Avo is updated, Codegen is updated.
To make the workflow of updating Codegen as easy as possible we built the Avo CLI. By running
avo pull [--branch my-branch] [SourceName]the CLI will update the file containing Codegen automatically.
Install the Avo CLI
Install the Avo CLI locally in your project (recommended), using NPM or Yarn:
npm install --save-dev avoor globally on your system, using NPM or Yarn:
npm install -g avoLink your project to Avo
Authenticate the Avo CLI with your Avo user:
avo loginNow you can pull Codegen from your Avo workspace. When you run avo pull for the first time it will also initialize Avo in your project by adding an avo.json file, containing a pointer to your Avo workspace, source and current branch. This file should be checked into git along with Codegen file.
avo pull3. Initialize Avo and send an event
Initialize Avo
Before we can start using Codegen to log events we first need to initialize Avo by calling the initAvo function exported from the file. Avo is usually initialized in the same place you initialize all your other analytics SDKs, or as soon as possible in the runtime of your app.
First we import Codegen and set up the destinations.
If we are using an Avo-managed tracking destination (Option 2) all we need to do is to import the corresponding SDK.
If we are using Custom Destinations (Option 1) we define an interface for each destination, where we connect it to our analytics SDK:
import Avo from './Avo';

// An interface for your Custom Destination that you pass into initAvo():
let myAnalyticsSDKBridge = {
  make: function (env) {
    /*
      Triggered during Avo initialization. Here you can initialize an analytics SDK with a development or production key
      based on the env parameter. If analytics SDK has already been initialized you can leave this function blank.

      Example: analytics.init(env);
    */
  },
  logEvent: (eventName, eventProperties) => {
    /*
      All your events are managed in the Tracking Plan in Avo. Each event gets a generated Avo Function. Avo events can
      have a Log Event action attached. This callback is triggered when an Avo Function with Log Event action is called.
      Here you perform the actual event tracking, calling the track/log methods of the analytics SDK. Event name and event
      properties are provided as parameters.

      Example: analytics.track(eventName, eventProperties);
    */
  },
  logPage: (pageName, eventProperties) => {
    /*
      All your events are managed in the Tracking Plan in Avo. Each event gets a generated Avo Function. Avo events can
      have a Log Page View action attached. This callback is triggered when an Avo Function with Log Page View action is called.
      Here you perform the navigation tracking, providing the new page name when user opens a new page.

      Example: analytics.pageView(pageName, eventProperties);
    */
  },
  logPage: (pageName, eventProperties) => {
    /*
      All your events are managed in the Tracking Plan in Avo. Each event gets a generated Avo Function. Avo events can
      have a Log Revenue action attached. This callback is triggered when an Avo Function with Log Revenue action is called.
      This callback is for tracking users spending money in your app. You track the amount spent.

      Example: analytics.revenue(amount, eventProperties);
    */
  },
  setUserProperties: (userId, userProperties) => {
    /*
      You can add User Properties to events in the Tracking Plan in Avo. When an Avo Function with attached user properties
      is called, this callback is triggered. Here you would attach user properties to the currently identified user in your
      analytics platform.

      Example: analytics.setUserProperties(userId, userProperties);
    */
  },
  identify: (userId) => {
    /*
      You can add the Identify User action to events in the Tracking Plan in Avo. When calling an Avo Function that includes
      the Identify User action you'll need to provide a user ID. Calling an Avo Function that has the Identify User action
      will trigger this callback. The main use cases are signup and login. Here you would pass the user ID to the analytics
      SDK for it to create a new user or attach a session to an existing user.

      Example: analytics.identify(userId);
    */
  },
  unidentify: () => {
    /*
      You can add the Unidentify User action to events in the Tracking Plan in Avo When calling an Avo Function that includes
      the Unidentify User action this callback will be triggered. Here you would call an analytics SDK method to detach subsequent
      actions from the currently identified user.

      Example: analytics.identify(null);
    */
  },
};
Then we call the initAvo Function:
Avo.initAvo({ env: Avo.AvoEnv.Dev }, {}, myAnalyticsSDKBridge);Detailed instructions on how to initialize Avo with Custom Destinations for all other programming languages and platforms supported by Avo can be found here.
Send an event
Now we’re ready to start implementing reliably analytics tracking with Codegen. Every Event defined in our Tracking Plan on avo.app has it’s own function in Codegen file.
Let’s say we have defined the “App Opened” event in our Tracking Plan in Avo, with two Event Properties, “Client” and “Screen Name”. Here’s how we would send the event using Codegen:
Avo.appOpened({ client: 'Web', screenName: 'Home Screen' });On some server platforms Codegen functions are async, e.g. on Node.js they return a Promise and on C# you can await on the functions
When the Avo Function is called Avo will run validation on the event properties, making sure they fit the spec defined in the Tracking Plan in Avo. Note that this validation is only run in development mode. If you are using a Custom destination Avo passes the event name and properties to the logEvent function in the Custom Destination interface defined above, otherwise it will pass the event directly to the analytics tool defined in your destination.