Avo Inspector Adobe Tag Extension
Overview
The Avo Inspector Adobe Tags Extension allows you to monitor and validate your Adobe data by sending only data schemas (no personal data) to Avo Inspector. This helps ensure data consistency and catch schema violations in real time.
Currently, we only support Web tag extensions for Adobe.
Features
- Watches Adobe data layers for changes
- Filters events and properties based on configured prefixes
- Automatically extracts & sends schema structures to Avo Inspector
- Ensures tracking consistency without exposing user data
- Supports both Adobe Client Data Layer and XDM schemas
Prerequisites
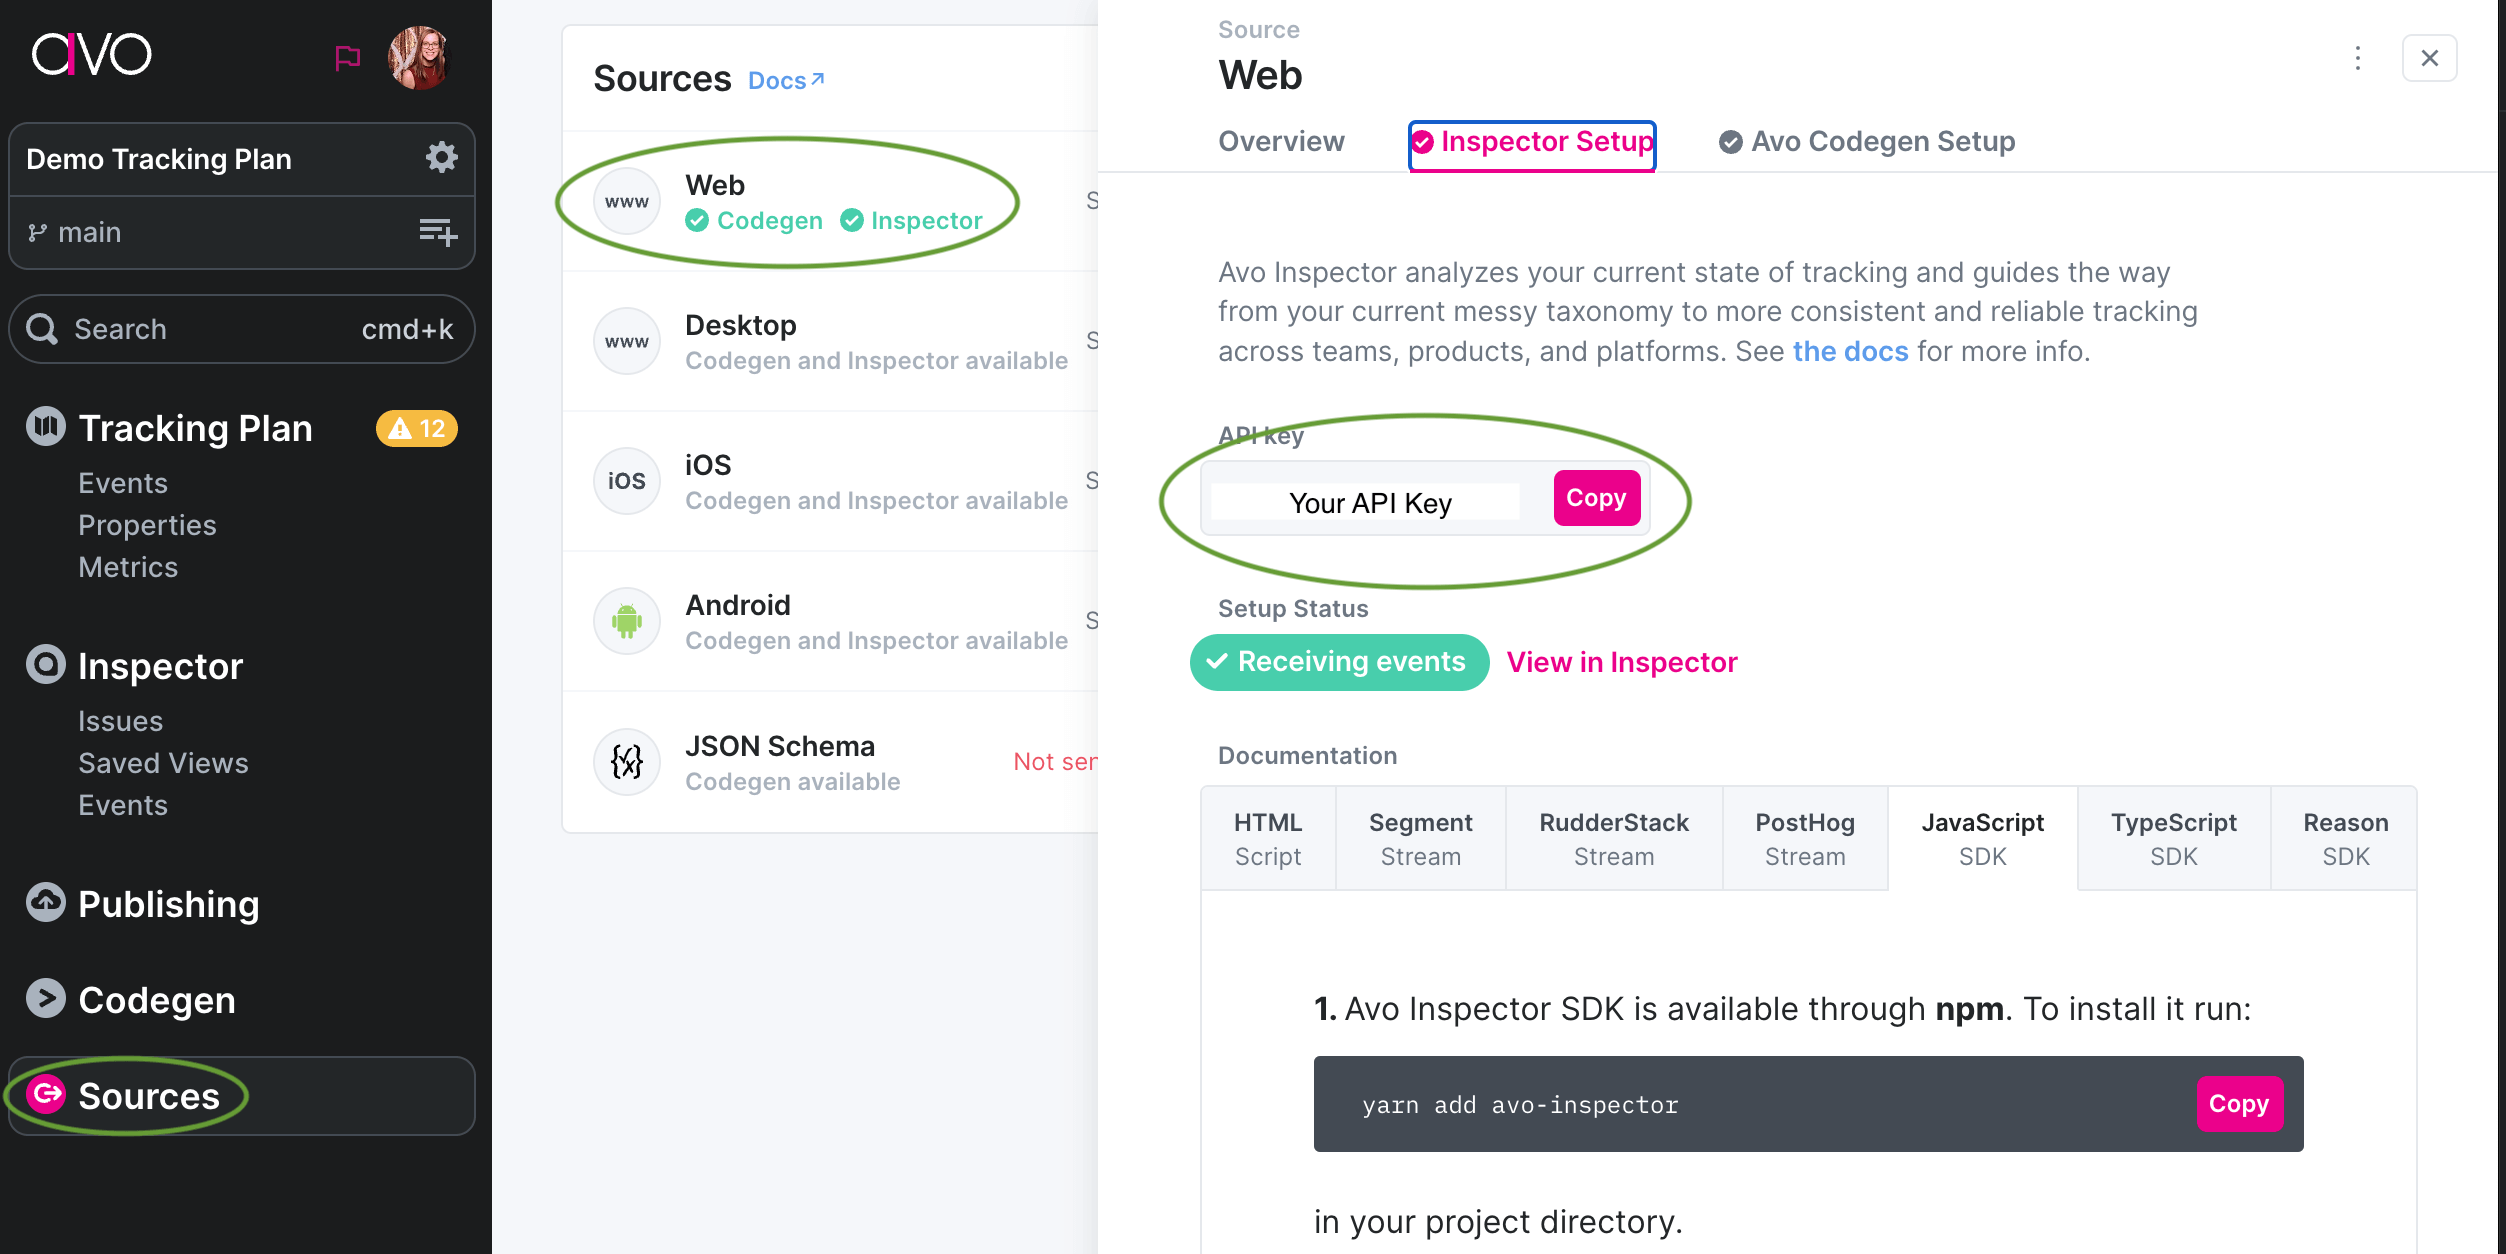
- Avo Inspector API Key
- One of the following Adobe integrations:
- Adobe Client Data Layer Extension
- Adobe Experience Platform Web SDK with XDM schemas
Choose Your Integration Path
Select the integration method that matches your Adobe implementation:
Adobe Client Data Layer Integration - Use this if you’re working with traditional Adobe Client Data Layer
XDM (Experience Data Model) Integration - Use this if you’re working with Adobe Experience Platform Web SDK and XDM schemas
Adobe Client Data Layer Integration
Installation
- Go to Adobe Experience Platform Tags.
- Navigate to the Extensions catalog.
- Search for “Avo Inspector”.
- Click Install and follow the setup instructions.
Extension Configuration
These settings apply to the Avo Inspector extension globally across your Tag property.
| Setting | Description |
|---|---|
| API Key | Your Avo Inspector API Key for authentication. |
| Environment | Defines the environment (dev, staging, prod). |
| App Version | The application version being tracked. (defaults to 1.0.0) |

Rule-Specific Configuration
These settings apply to individual rules where the extension is used.
| Setting | Description |
|---|---|
| Event Name Prefixes | Filters out events that start with specific prefixes. |
| Property Prefixes | Filters out properties that start with specific prefixes. (only works for top level properties) |
Setting Up a Rule in Adobe Tags

Step 1: Configure the Event
- Go to Rules → Create a new rule.
- Click Add Event → Select Adobe Client data layer extension or Google data layer extension.
- Under eventType select Data Pushed
- In the settings, select
- Listen to: All Events
- Time Scope: Future
- Click Save

Step 2: Configure the Action
- Add an Action → Select Avo Inspector extension
- Choose
on Adobe DataLayer Pushas the action type. - Configure the Rule-Specific Configuration (Event Name Prefixes & Property Prefixes).

Step 3: Save and Publish
- Click Save Rule.
- Publish your changes in Adobe Tags.
- Once live, the extension will start tracking schemas automatically.
How It Works
Event & Property Filtering
- The extension listens for changes in the Adobe Client Data Layer.
- Events and properties are filtered based on prefix rules (configured in settings).
- Unwanted prefixes are ignored, while only schema structures are processed.
Sending Schemas to Avo Inspector
- Once an event passes the filter, the extension extracts its schema and sends it to Avo Inspector.
- The schema is structured according to Avo’s schema validation.
- This helps identify tracking inconsistencies in real time.
When events are being sent successfully, Avo Inspector events view will start to receive your events, whether you have them in the Avo Tracking plan or not. If you receive events that are not defined in your tracking plan, the Inspector will offer you to add them to the tracking plan with a single click.

Troubleshooting
No Schemas Being Sent?
- Check if the Adobe Data Layer has events in the browser console.
- Ensure event prefixes are not blocking schema extraction.
- If the Avo inspector tag Extension is set to
devenvironment, the extension will be logging to the console to help you debug.
The Extension will do no logging if the environment is set to prod.
Getting Errors in Avo Inspector?
- Validate the schema in Avo Inspector.
- Check the API key and environment settings.
- Look at network requests (
F12 → Network) to see what’s being sent.
XDM (Experience Data Model) Integration
What is XDM Integration?
The Avo Inspector extension supports Adobe Experience Platform Web SDK with XDM (Experience Data Model) schemas. This allows you to validate XDM event schemas in real-time as they’re sent through the Adobe Web SDK.
- Captures XDM events before they’re sent to Adobe Experience Platform
- Extracts schema structure from XDM payloads
- Automatically handles tenant-specific custom properties
- Validates XDM schema consistency through Avo Inspector
Prerequisites for XDM
Before setting up XDM integration, ensure you have:
- Adobe Experience Platform Web SDK extension installed in Adobe Tags
- XDM Schema configured in Adobe Experience Platform
- Tenant ID (your organization’s custom namespace identifier)
- Avo Inspector extension installed and configured in Adobe Tags
Step-by-Step XDM Setup
1️⃣ Configure Adobe Web SDK Extension (beforeSend)

In your Adobe Experience Platform Web SDK extension configuration, add this code to the beforeSend callback:
// Modify content.xdm or content.data as necessary. There is no need to wrap the
// code in a function or return a value. For example:
// content.xdm.web.webPageDetails.name = "Checkout";

if (content?.xdm) {
  console.log('Dispatching to inspector listener', content);
  document.dispatchEvent(
    new CustomEvent('xdmEventToInspector', {
      detail: { xdmData: content.xdm },
    }),
  );
} else {
  console.log('content.xdm does not exist', content);
}
What this code does:
- Intercepts XDM data before it’s sent to Adobe Experience Platform
- Dispatches a custom DOM event that the Avo Inspector can listen for
- Preserves original XDM data - doesn’t modify the data being sent to Adobe
- Logs helpful debug information for troubleshooting
2️⃣ Create XDM Rule in Adobe Tags
Create a new rule specifically for XDM event processing:

Event Configuration:
- Go to Rules → Create a new rule (e.g., “XDM to Avo Inspector”)
- Click Add Event → Select Avo Inspector extension
- Choose “XDM Event to Inspector Listener” as the event type
- Click Save
Action Configuration:

- Add an Action → Select Avo Inspector extension
- Choose “Handle XDM Event” as the action type
- Configure your XDM settings (see next step)
Configure XDM Data Extraction
Configure how XDM data should be processed and sent to Avo Inspector:
Tenant ID Configuration:
- Enter your Adobe tenant ID (e.g.,
_yourcompany) - This is typically found in your XDM schema as a top-level namespace
- All properties inside your tenant object are automatically extracted and promoted to top-level
XDM Fields to Extract:
- Select which standard XDM fields should be included
- Common fields include:
device,environment,web,placeContext,timestamp,implementationDetails - Note: Custom tenant properties are handled automatically and don’t need to be listed here
Field Configuration Examples:
Standard XDM Fields (commonly used):
device- Device information (screen size, type, etc.)environment- Browser and environment detailsweb- Web-specific data (page details, referrer, etc.)placeContext- Geographic and location datatimestamp- Event timestampimplementationDetails- SDK implementation info
Advanced XDM Fields:
commerce- E-commerce related datamarketing- Marketing campaign informationsearch- Search-related dataidentityMap- Identity information
Save and Publish
- Click Save Rule
- Publish your changes in Adobe Tags
- Test in development environment first before pushing to production
How XDM Processing Works
XDM Event Capture
When an XDM event is triggered through the Adobe Web SDK, your beforeSend callback captures it:
// XDM data from Adobe Web SDK
{
  "eventType": "web.webpagedetails.pageViews",
  "web": {
    "webPageDetails": {
      "name": "Homepage",
      "URL": "https://example.com"
    }
  },
  "device": {
    "screenHeight": 1080,
    "screenWidth": 1920
  },
  "_yourcompany": {
    "userId": "12345",
    "userTier": "premium",
    "campaignId": "summer2024"
  }
}
XDM Processing & Extraction
The extension processes XDM data by:
- Extracting
eventTypeas the event name - Including configured standard XDM fields (device, web, etc.)
- Automatically promoting ALL tenant properties to top-level
- Converting to Avo Inspector format
Processed Event Sent to Avo Inspector
{
  "eventName": "web.webpagedetails.pageViews",
  "eventProperties": {
    "web": {
      "webPageDetails": {
        "name": "string",
        "URL": "string"
      }
    },
    "device": {
      "screenHeight": "int",
      "screenWidth": "int"
    },
    "userId": "string", // ← Promoted from _yourcompany
    "userTier": "string", // ← Promoted from _yourcompany
    "campaignId": "string" // ← Promoted from _yourcompany
  }
}
XDM-Specific Troubleshooting
XDM Events Not Being Captured?
Check Web SDK beforeSend configuration - ensure the custom event dispatch code is properly added:
// This should be in your Web SDK beforeSend callback
if (content?.xdm) {
  document.dispatchEvent(
    new CustomEvent('xdmEventToInspector', {
      detail: { xdmData: content.xdm },
    }),
  );
}
Verify XDM rule is active - check that your XDM rule is published and active in Adobe Tags.
Test XDM data structure - ensure your XDM data has an eventType field:
// XDM data should include eventType
{
  "eventType": "web.webpagedetails.pageViews", // ← Required
  "web": { ... },
  "_yourtenant": { ... }
}
Check tenant ID configuration - verify your tenant ID matches your XDM schema namespace.
Look for console logs - the extension logs XDM processing details when environment is set to dev:
"Dispatching to inspector listener" // From Web SDK beforeSend
"logging payload" // From XDM action
"Executing onXdmEvent action with payload:" // From XDM action
"XDM FIELDS TO INCLUDE" // From XDM action
"[DEV] Avo Inspector Event:" // Final processed event
XDM Fields Not Being Extracted?
Check field configuration - ensure the XDM fields you want are listed in the action configuration.
Verify field names - XDM field names are case-sensitive and must match exactly.
Tenant properties missing? - Remember that tenant properties are extracted automatically; they don’t need to be in the XDM fields list.
Common XDM Issues:
Issue: eventType is undefined
- Solution: Ensure your XDM schema includes an
eventTypefield - Alternative: Set
eventTypein your beforeSend callback if needed
Issue: Tenant properties not appearing
- Solution: Verify your tenant ID configuration matches your XDM namespace exactly
- Check: Look for your tenant namespace in the raw XDM data structure
Issue: Missing standard XDM fields
- Solution: Add the missing fields to your XDM fields configuration
- Check: Verify the field names match your actual XDM schema structure
Testing Your XDM Integration
1. Test XDM Event Dispatch
Open your browser console and manually trigger an XDM event to test:
// Test if your XDM integration is working
alloy('sendEvent', {
  xdm: {
    eventType: 'web.webpagedetails.pageViews',
    web: {
      webPageDetails: {
        name: 'Test Page',
      },
    },
    _yourcompany: {
      testProperty: 'test value',
    },
  },
});
2. Verify Console Logs
Look for these log messages in your browser console:
"Dispatching to inspector listener"- From Web SDK beforeSend"logging payload"- From XDM action"[DEV] Avo Inspector Event:"- Final processed event
3. Check Network Requests
Monitor network requests to https://api.avo.app/inspector/v1/track to see the data being sent to Avo Inspector.
Support
For any questions, reach out to Avo Support or check our documentation.