Getting started to implement tracking plan changes in code with Avo codegen
This guide describes how to get started with implementation using Avo Codegen. If your team is not using Codegen yet, we recommend checking out the Implementation Overview page.
Data design on an Avo branch has been finished and it’s time to implement new tracking in code.
Editors and admins can pull generated code on all plans: free, team and enterprise. Additionally, viewers can pull generated code on the team and enterprise plans. Learn more here.
Familiarize yourself with the changes
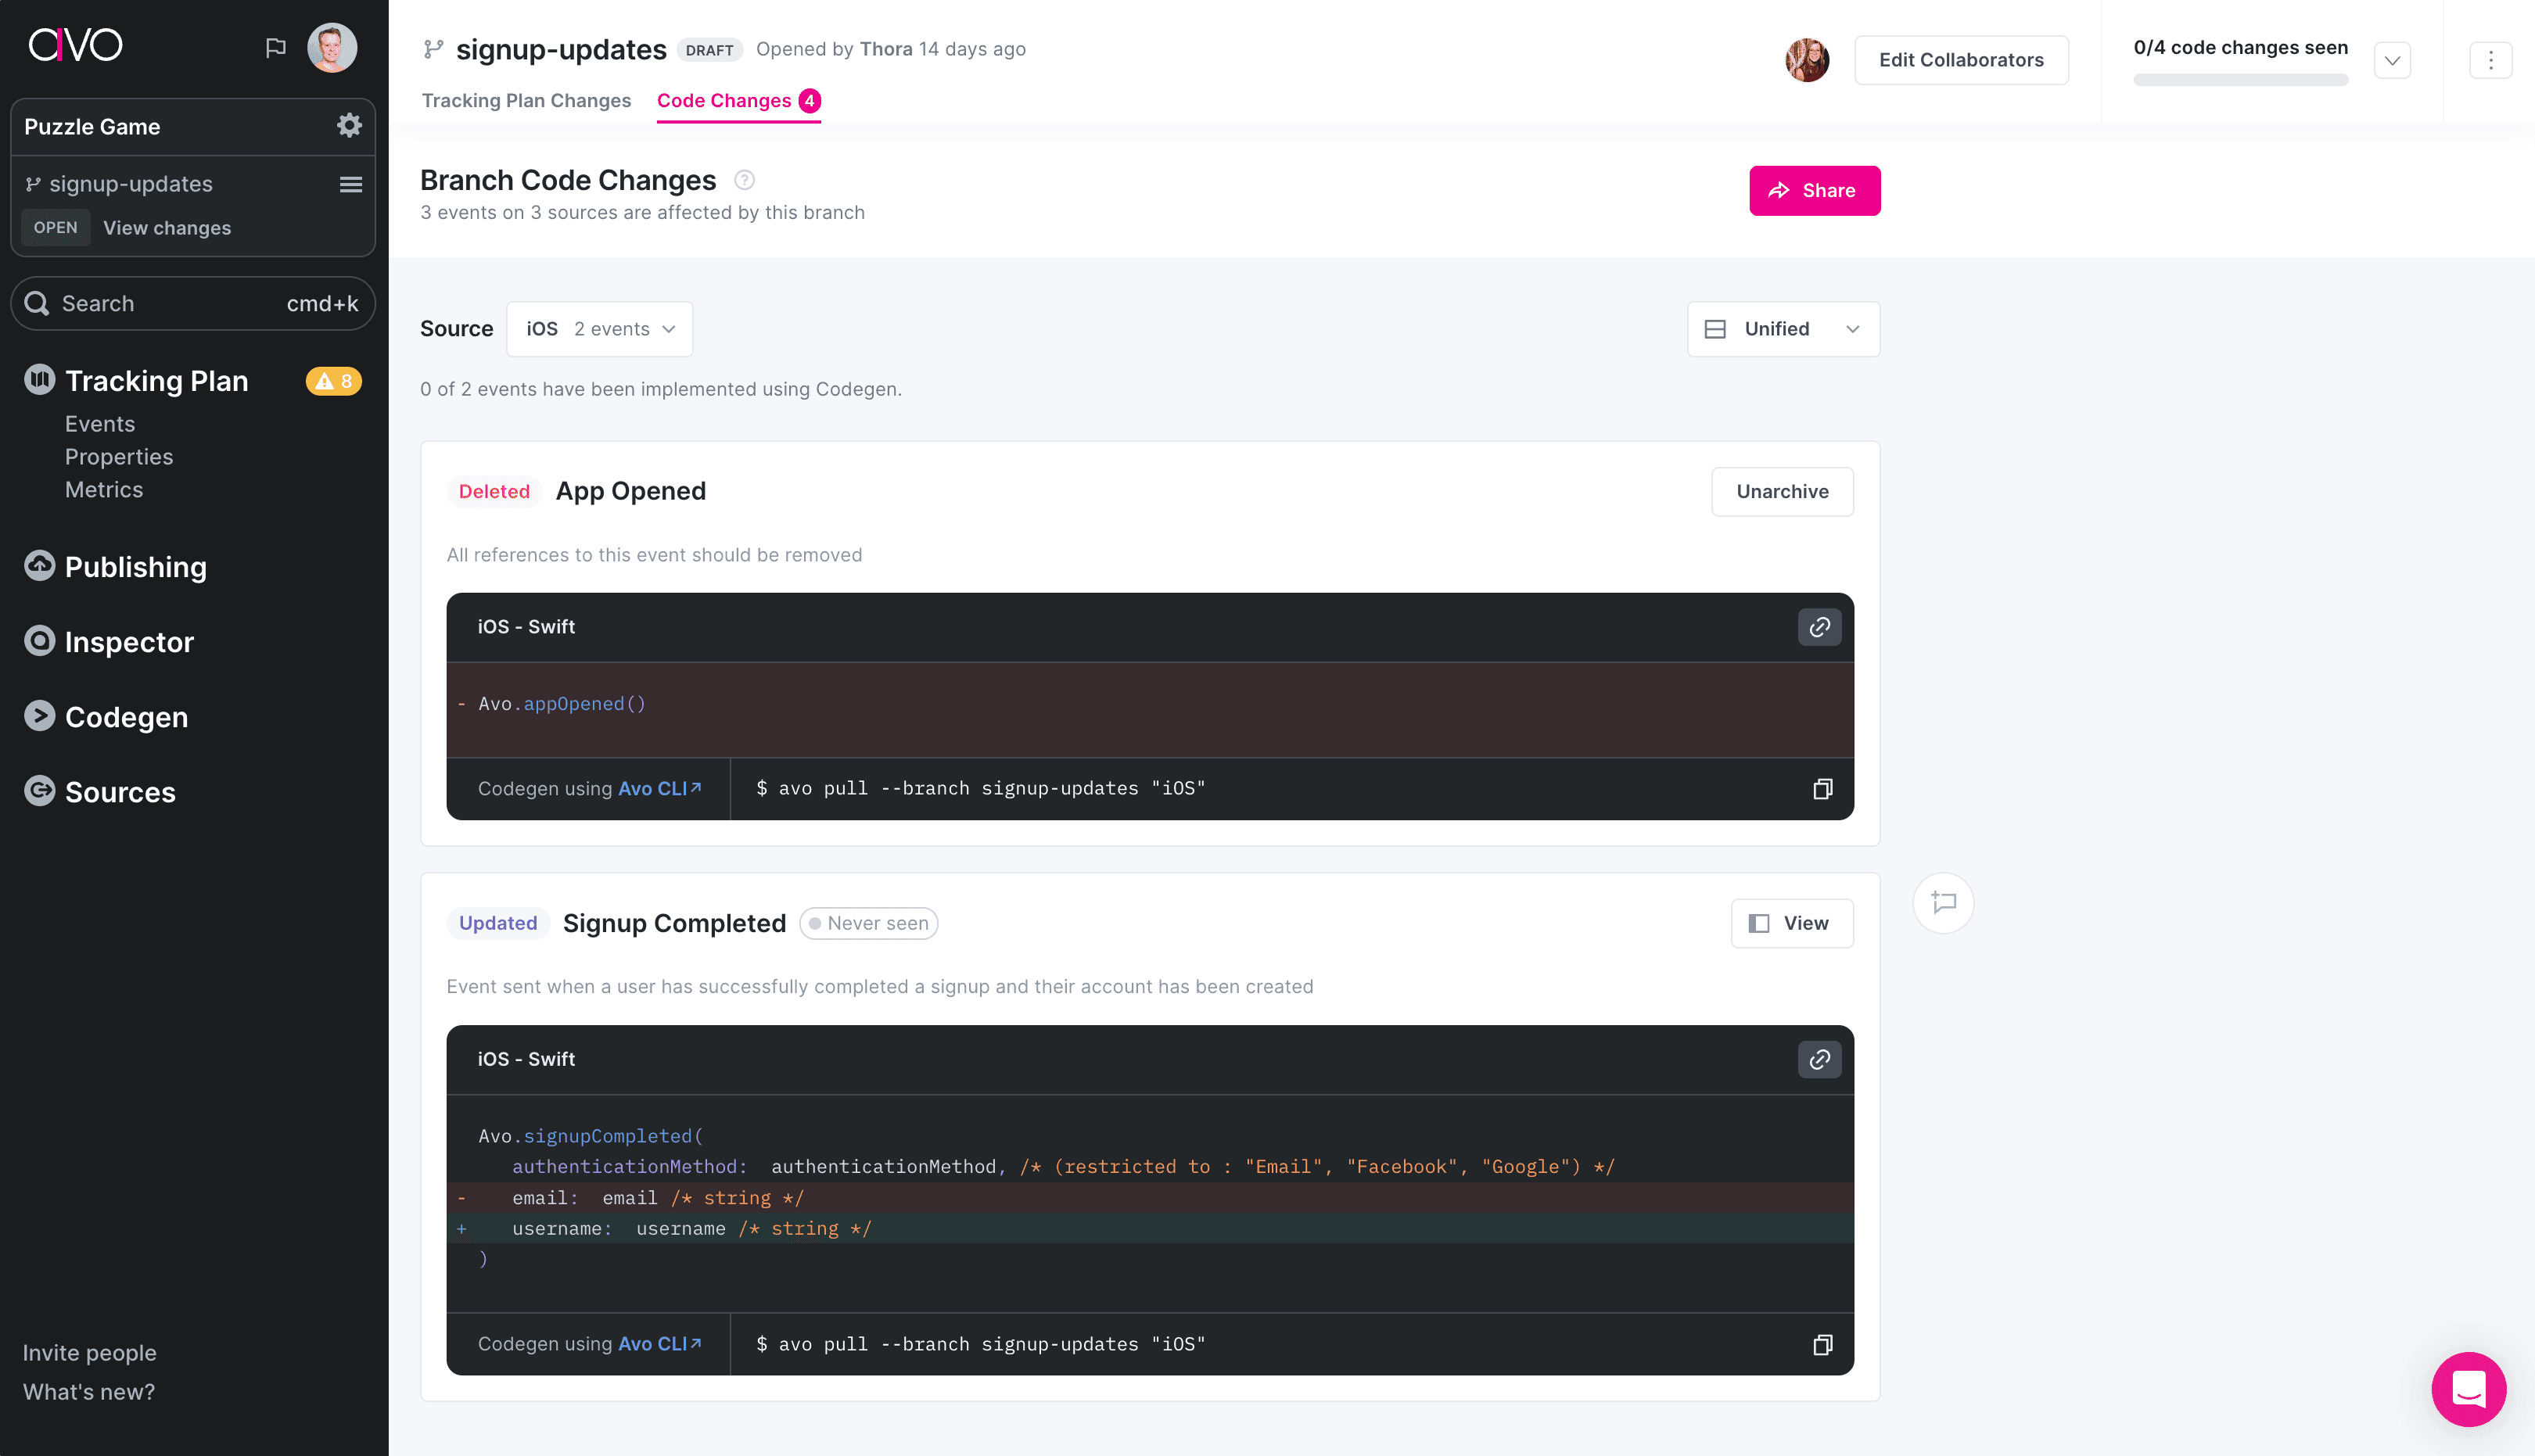
First of all we recommend to open your Avo workspace and navigate to the branch you are about to implement, click View changes in the sidebar to access the review. The review has three tabs: Branch context, Tracking Plan Changes, and Code Changes. Branch context lets you add context for reviewers; Tracking Plan Changes summarizes all tracking items changed; Code Changes shows the code diffs and snippets per source.

Press View changes button
It’s really valuable to understand what exactly needs to be tracked and clear all unknowns.
We suggest using comments in the code changes view to ask for any clarification before starting to implement.
Read more on the branch changes view.
Pull the new code with Avo CLI
Install the Avo CLI
Install the Avo CLI locally in your project, using NPM or Yarn:
npm install --save-dev avoor globally on your system, using NPM or Yarn:
npm install -g avoLink your project to Avo
Authenticate the Avo CLI with your Avo user:
avo loginNow you can pull your custom tracking snippet from your Avo workspace using Codegen.
avo pull --branch your_branch_name [SourceName]When you run Avo pull for the first time it will also initialize Avo in your project by adding an
avo.jsonfile, containing a pointer to your Avo workspace, source and current branch. This file should be checked into git along with Codegen file.
Implement new events
Now your Avo file will have the changes from the your_branch_name branch. Call all the new Avo Codegen functions in required places, update the new event properties. You can find a reference of all the code snippets required to implement your events in the Codegen tab.
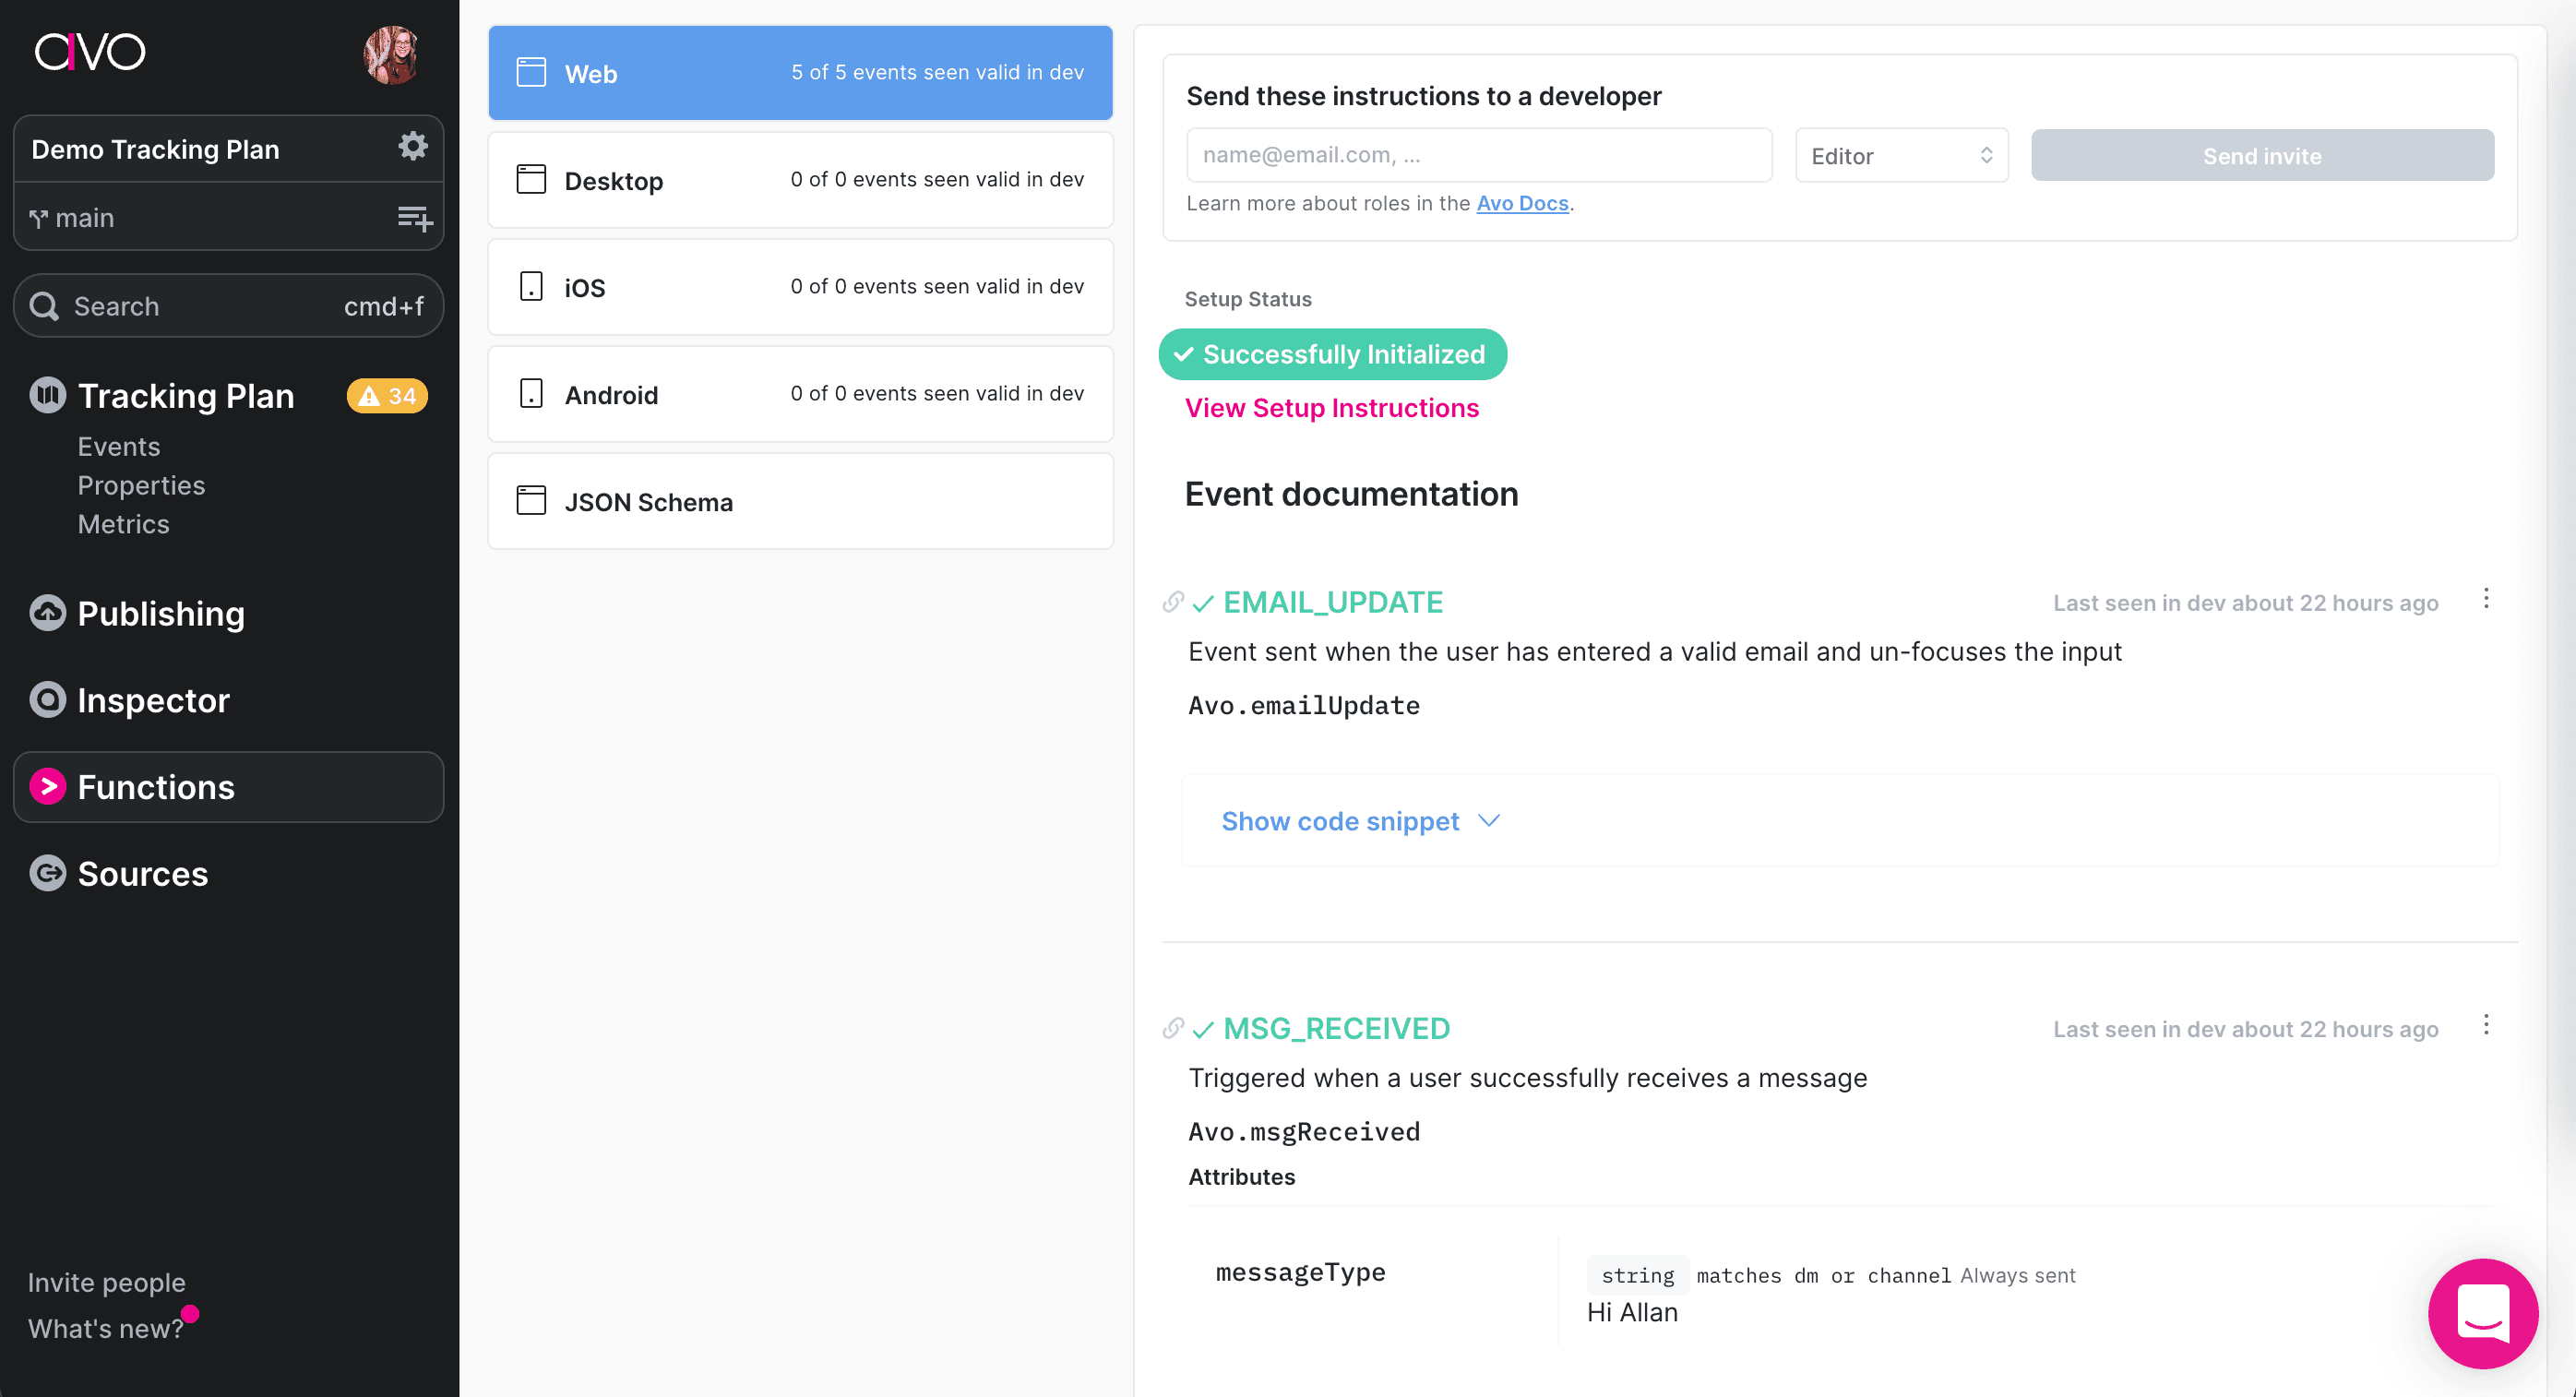
Codegen reference
It might be useful to check the changes tab in your Avo workspace for overview while implementing.
If you are implementing the branch in multiple code bases we recommend you to read the Multiple sources on Avo branches guide.
The most important part
Once you are finished with implementing the code and your source control branch was merged remember to also merge the Avo branch!